I have enough bicycle parts in the dorm now to clutter up not only my own room, but my friend's across the hall as well...
 |
| Friend's room across the hall |


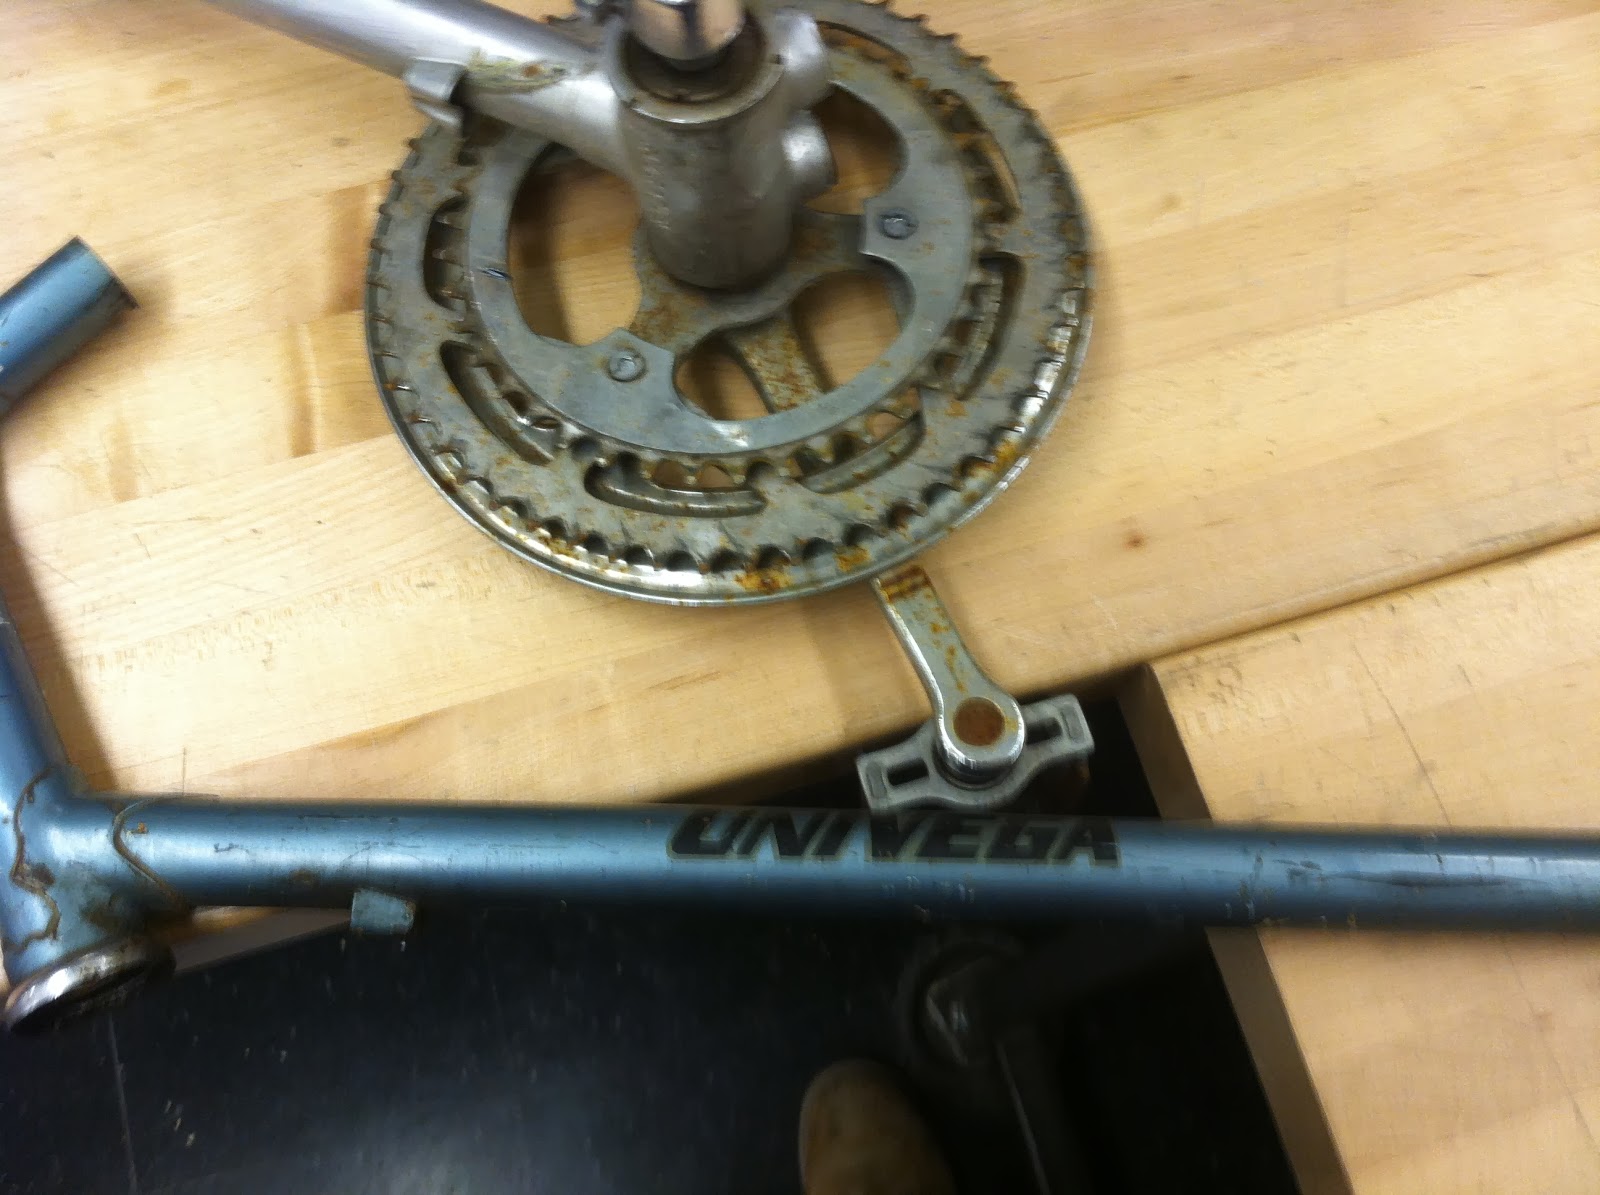
I started laying out the frame design by just laying the bike parts out on the table. I hadn't thought too much about how to configure everything, but I basically wanted to combine the two frames to make a single, larger frame with a larger main triangle in which we could mount the flywheel. The silver bike had the headset fully intact, so I used that one in the front. Ideally we would keep both bottom brackets with the pedals on the front one so that the rider would pedal in the front. Chain would be on the right side of the bike to separately connect the front sprocket to the flywheel and then the rear sprocket to the rear wheel. This way the clutch system would only need to connect the flywheel to the rear bottom bracket on the left side of the bike.
Combining the two frames would require removing the rear triangle on the silver bike and cutting off the head tube and down tube on the blue frame.

 |
| Hacksaw Cuts |
 |
| Angle Grinder Cuts |

I used a 20" bike wheel to roughly size out a location for a flywheel. This was much larger than the cast iron weight that we had, and should be more than enough space for most flywheels we'll try out. To complete the frame by connecting the two bottom brackets, I cut the remaining down tube from the blue frame down to size, and experimented with using the hole saw on the drill press to miter the tube.


In order to make sure that both frames lined up and were in the same plane, we clamped them down to a long 2x6" board. Connecting the top tubes also required butt welding them together, so we constrained the tubes in a collinear arrangement by clamping them along a piece of angle iron. Then we just clamped up the bottom bracket-connecting tube and welded it all up with the MIG welder.


 |
| Nick Welding |

It came out pretty well, and very long. It's funny how it looks broken because you're accustomed to seeing a straight down tube, and now it looks like the entire bike frame got bent at the front bottom bracket. It should have plenty of room to contain the flywheel in the now expanded main triangle.


Next, we just had to mount the flywheel to the frame. I opted to use the stays from the silver frame that I cut off to mount the flywheel, as the dropouts would allow us to interchange different types of flywheels that we came up with. I wanted to mount the stays hanging down from the top tube on the frame, so that the flywheel would set down in the dropouts. I couldn't find a good constraint for the wheel to help us line it up perfectly centered in the plane of the bike frame, so clamped it in place and spent a while spinning the wheel and just making slight adjustments until it looked good enough. As long as the chain won't come off later, we should be alright.


We tried to keep it pretty sleek, so that when you're pedaling your legs don't hit anything on the structure supporting the flywheel. The extra additions to the frame indeed made the center of the bike much wider than usual. Where there were sections of tube sticking up, we crimped the ends with a pair of channel locks and bent it to the top tube of the bike by hitting it with a hammer. Then we just welded it to the frame, which made the flywheel support stays durable and without exposed, sharp angles.


And that's about it for day 1 on the frame, now we have a very unconventional tricycle...
Moving forward, we just need to make the flywheels, by machining our cast iron weight or by filling the inner tube on the wheel with concrete. We're also going to mount the seat right above the flywheel, where there's that flat metal piece in the picture, and then we just need to work out the clutch/power take off system to engage the flywheel with the back wheel.

No comments:
Post a Comment