Showing posts with label Drift Trike. Show all posts

Friday, June 6, 2014

Mounting the Motor on the Long Bike

Through the process of cleaning out the shop downstairs in N51, we unearthed the remains of Longbike- an exciting artifact from back in the first year of the EVT special section of the MIT 2.007 class.  Charles Guan, EV guru and current teacher of the 2.00gokart section, mentions the Longbike and the history of the old EV section on his blog: http://www.etotheipiplusone.net/?p=3035#section3

From Charles' blog, I dug up a picture of the Longbike in its original condition from the class:

Compared to its salvaged state after some time setting around: 

Pretty much the same, although a bit dusty after its hibernation.  As my experiences in the AIBD class have made me determined to never let a good (or bad) bike go to waste, I took it upon myself to revive the Longbike and bring it back to its glory days!  It definitely had an interesting geometry, and I was curious to see what we could do with it.  

When Jack, the shop manager in D-Lab who first got me into the bike hacking scene, saw this bike, he couldn't get over the ridiculousness of how it was set up.  He got a real kick out of how low the seat was, saying that we'll have to get a pair of motorcycle racing pants and move the pads from the knees to your butt so that it doesn't drag on the ground and so that you look like a baboon while riding it.  This has discussion has led me to always refer to it from now on in his presence as the Ass-bike....  

Here Austin tries to get used to balancing on the unconventional bike geometry:

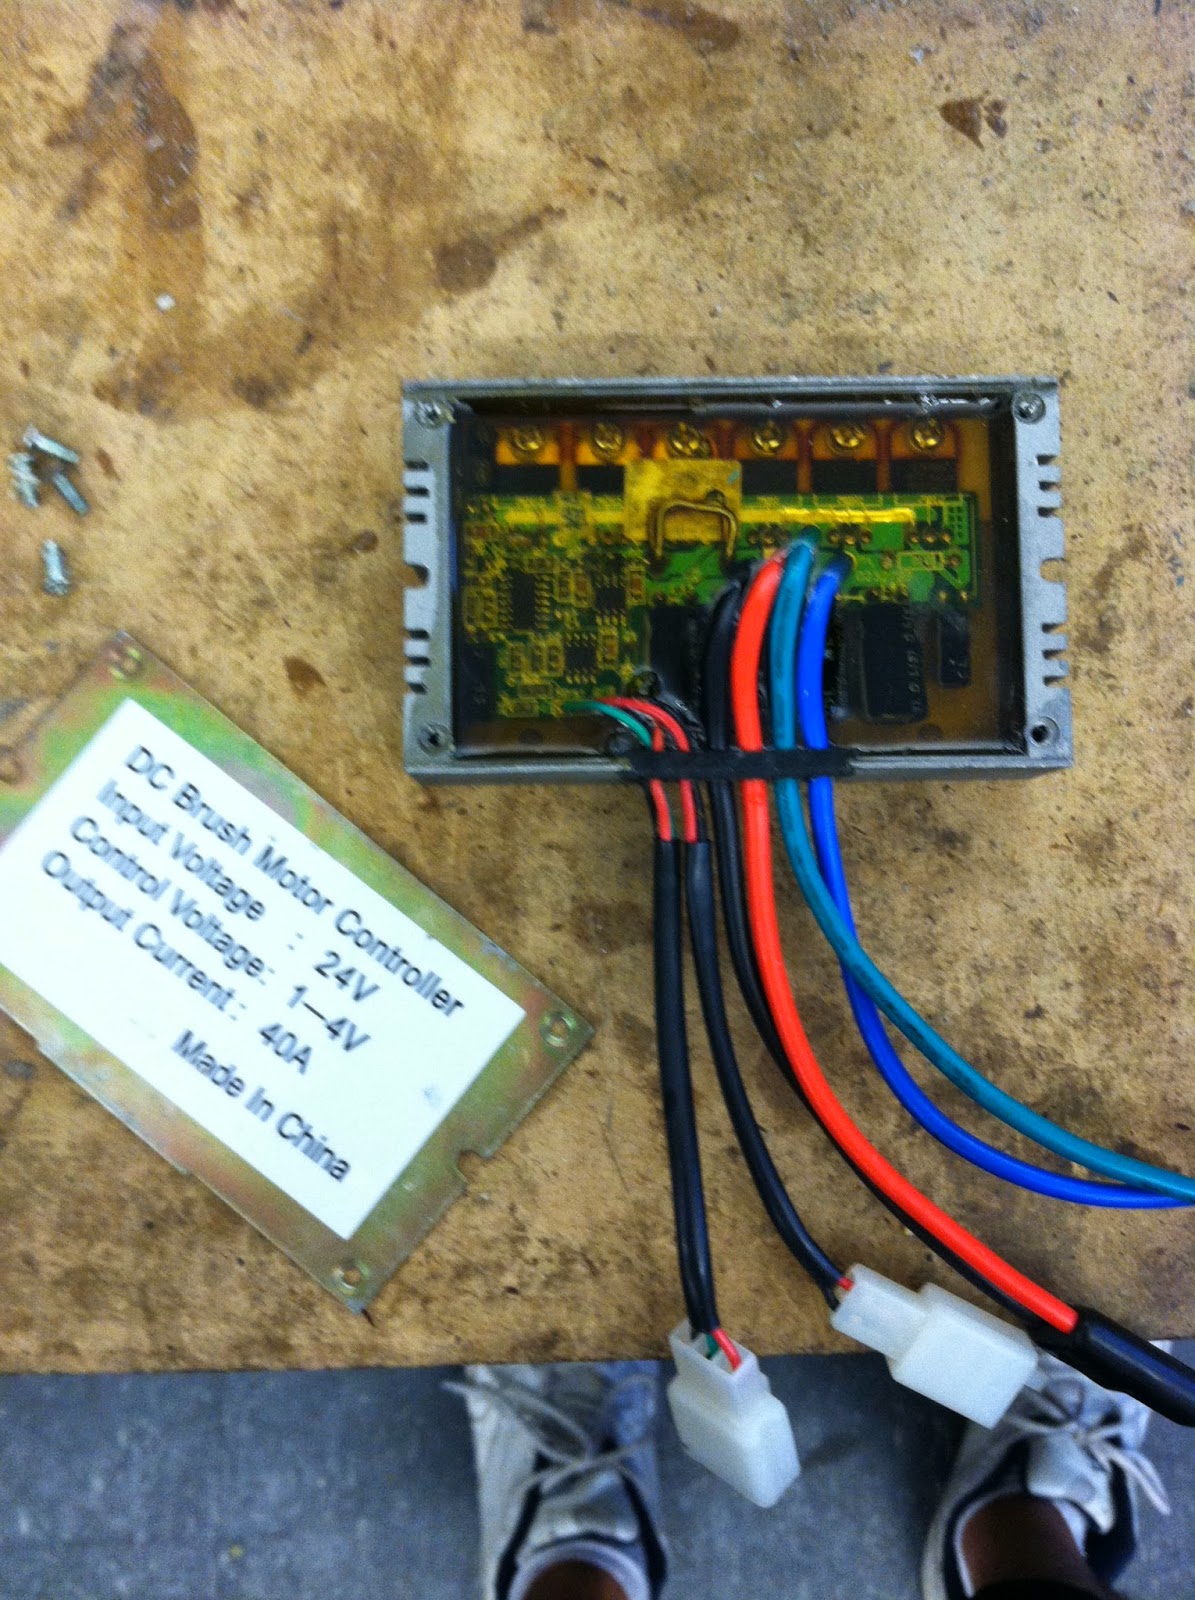
Jake (my fellow EVT UROP for the summer) and I have been trying to test out some different motor setups and controller combinations that we can use to teach new members in the fall about how EV systems work, so we figured we'd throw something on the Longbike to see how it runs.  I ended up going with just a basic, brushed DC motor controller rated for 24v and 40amps.  I used that to run the motor from an eGO Cycle2 (24v DC, 2HP).


We made an 8S2P battery pack using the 3.3v LiFe cells to power the 24v system, then I just had to mount the motor.  


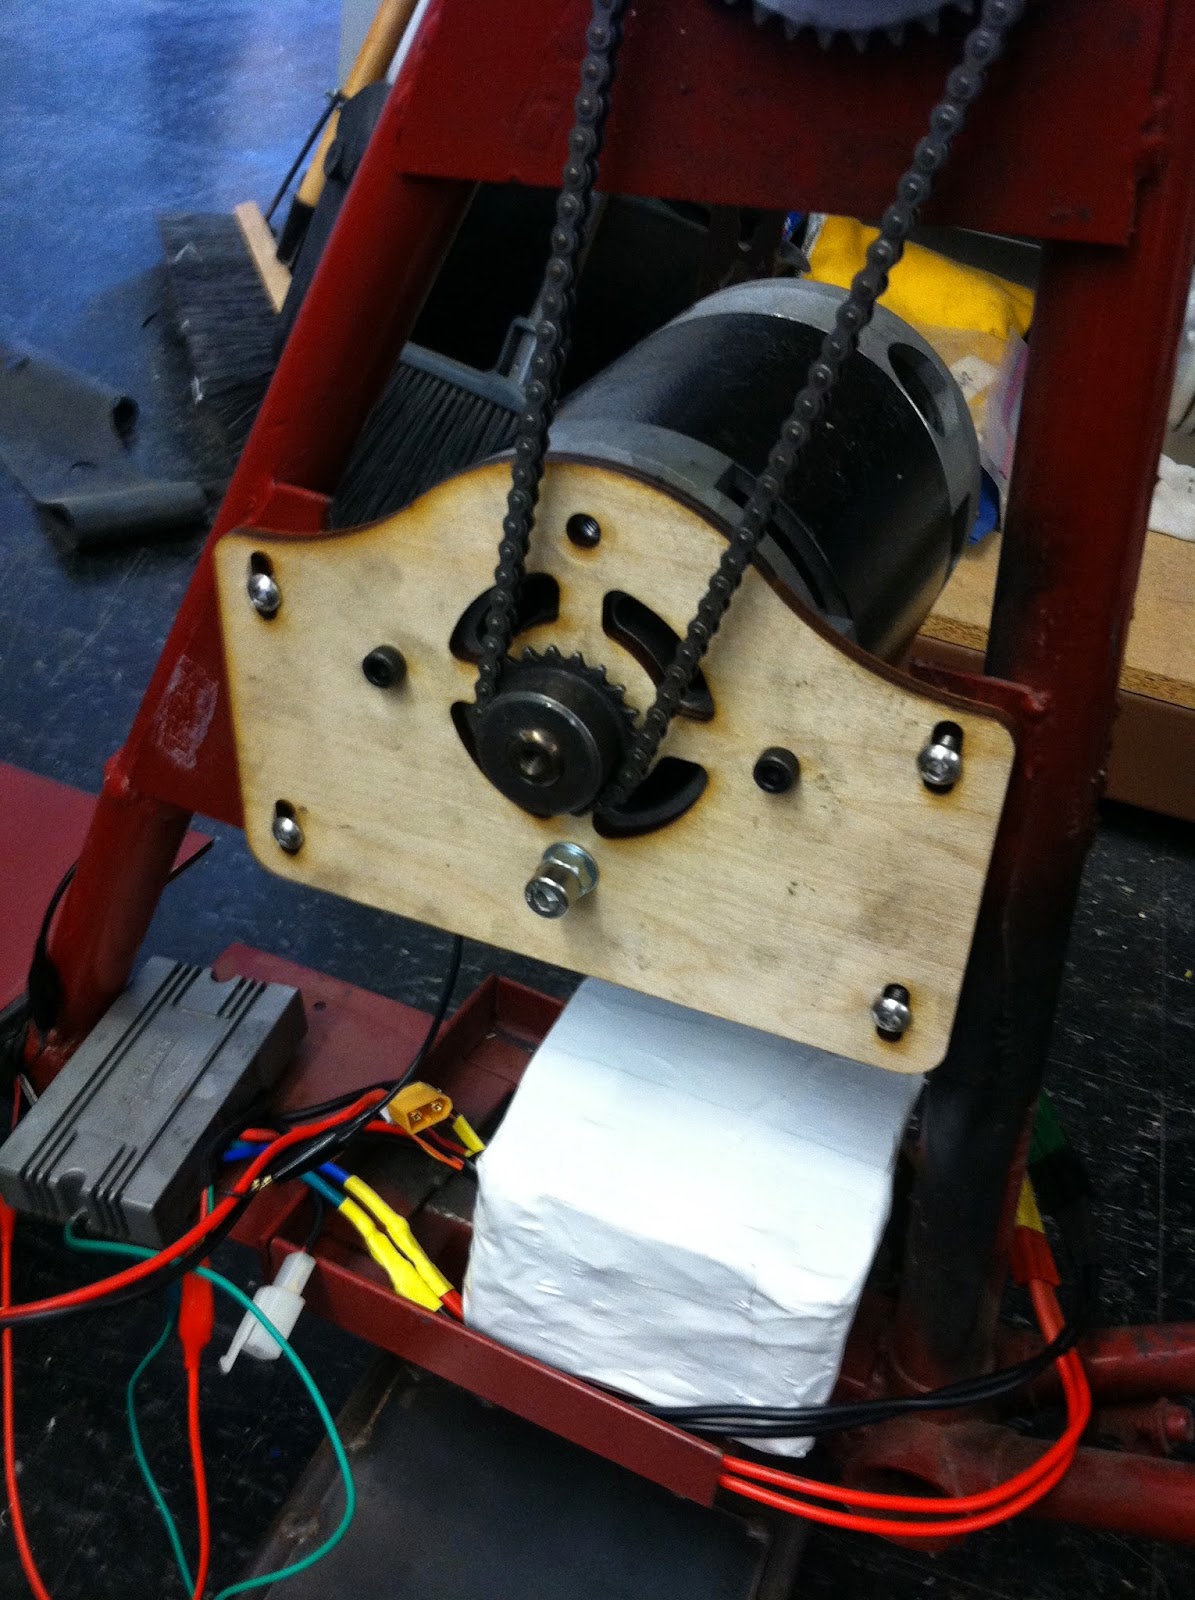
I used the laser cutter to quickly mock up a mounting plate for the motor, with just the bolt hole pattern, openings for the fan and axle, and slots so that it can slide to tension the chain.  Then I quickly cut out the original plate to make room for the motor, leaving enough of the plate on the outsides to drill 4 holes to which the motor mount could be bolted.  


Then I just had to add a sprocket to the motor shaft to connect with the intermediate axle above the motor that is used to compound the gear ratio.  I found an appropriately sized sprocket to give me about an overall 8:1 gear ratio, and finally got to use the new equipment in the shop to open up the hole such that it fit on the shaft and then add a setscrew.

Then I just bolted everything all together, and the slots on the motor mount fit appropriately so that the size 25 chain was easy to tension.  I've been meaning to make a more substantial mounting plate, but for now the wooden version has been holding up well enough through all the testing!


Then once we had everything mounted appropriately...I realized that I had an extra hub motor! And what could possibly be better for the bike than 2 wheel drive??? So the 27" brushless hub motor is only rated for 36v and 250w, which is perfect for the Chinese ebike controller that I had been using on the drift trike.


As much as it hurt me to pull the controller and batteries out of the spaghetti mess of wires inside the drift trike, it'll finally force me to get a better controller for the drifter.  Plus, the hub motor ended up looking pretty good on the front of the Longbike.  We connected the throttle signals together so that the one throttle controlled both the front and rear motors at the same time, giving this bike record out of all the bikes I've made of the most power for the least stability.


Then that was the final setup, a slightly ridiculous combination of 2 controllers (brushed & brushless), 2 battery packs (24v & 36v), and 2 different motors.  Between the steep angle of the head tube and the position of the rider, it was fairly difficult to ride in this state and gave Jake some trouble as he raced up and down the hallway.


Friday, January 31, 2014

That's MIT!!!

The trike's been holding up very well.  I take it out frequently to drive to most places around campus, and the steering is now controlled enough that I can manage getting up to top speed without hurting anyone around me...most of the time.  It takes a lot of getting used to, but the drifting makes for a crazy fun ride when you're trying to get somewhere on time.

Between the lights and sound system at night in addition to the trike just being wacky to begin with, I've started to attract some attention when people see me driving around.  When I go up to the lab, I usually go up over the railroad tracks back behind the dorm.  There's often a number of homeless people chilling out there, and I've started making some fans out of them.  I was driving through one day, and there were two guys out there.  As I drove past them, they gave me high fives and started yelling "That's MIT!" It's the times like those that make cruising so much more interesting than just walking.


Some Extra Finishing Touches

The entire rear gate assembly was still fairly crude, so I took it off to clean it up a bit.  The bike grip didn't quite want to fit down over the lever handle, as the 1" steel pipe was considerably thicker than the tube for bike handlebars.  I had to clamp the whole thing in the vice and twist the grip down for a bit, and eventually it fit all the way on.  
The angle iron bars that we used for the gates also had a lot of sharp edges and corners that everyone had been cutting their legs on when walking by, so I finally got a chance to round all the corners with the angle grinder.  Then I welded the back side of the white tube to make sure that it was firmly secured all the way around, since the tube had still been only tacked up to the angle iron up to this point.


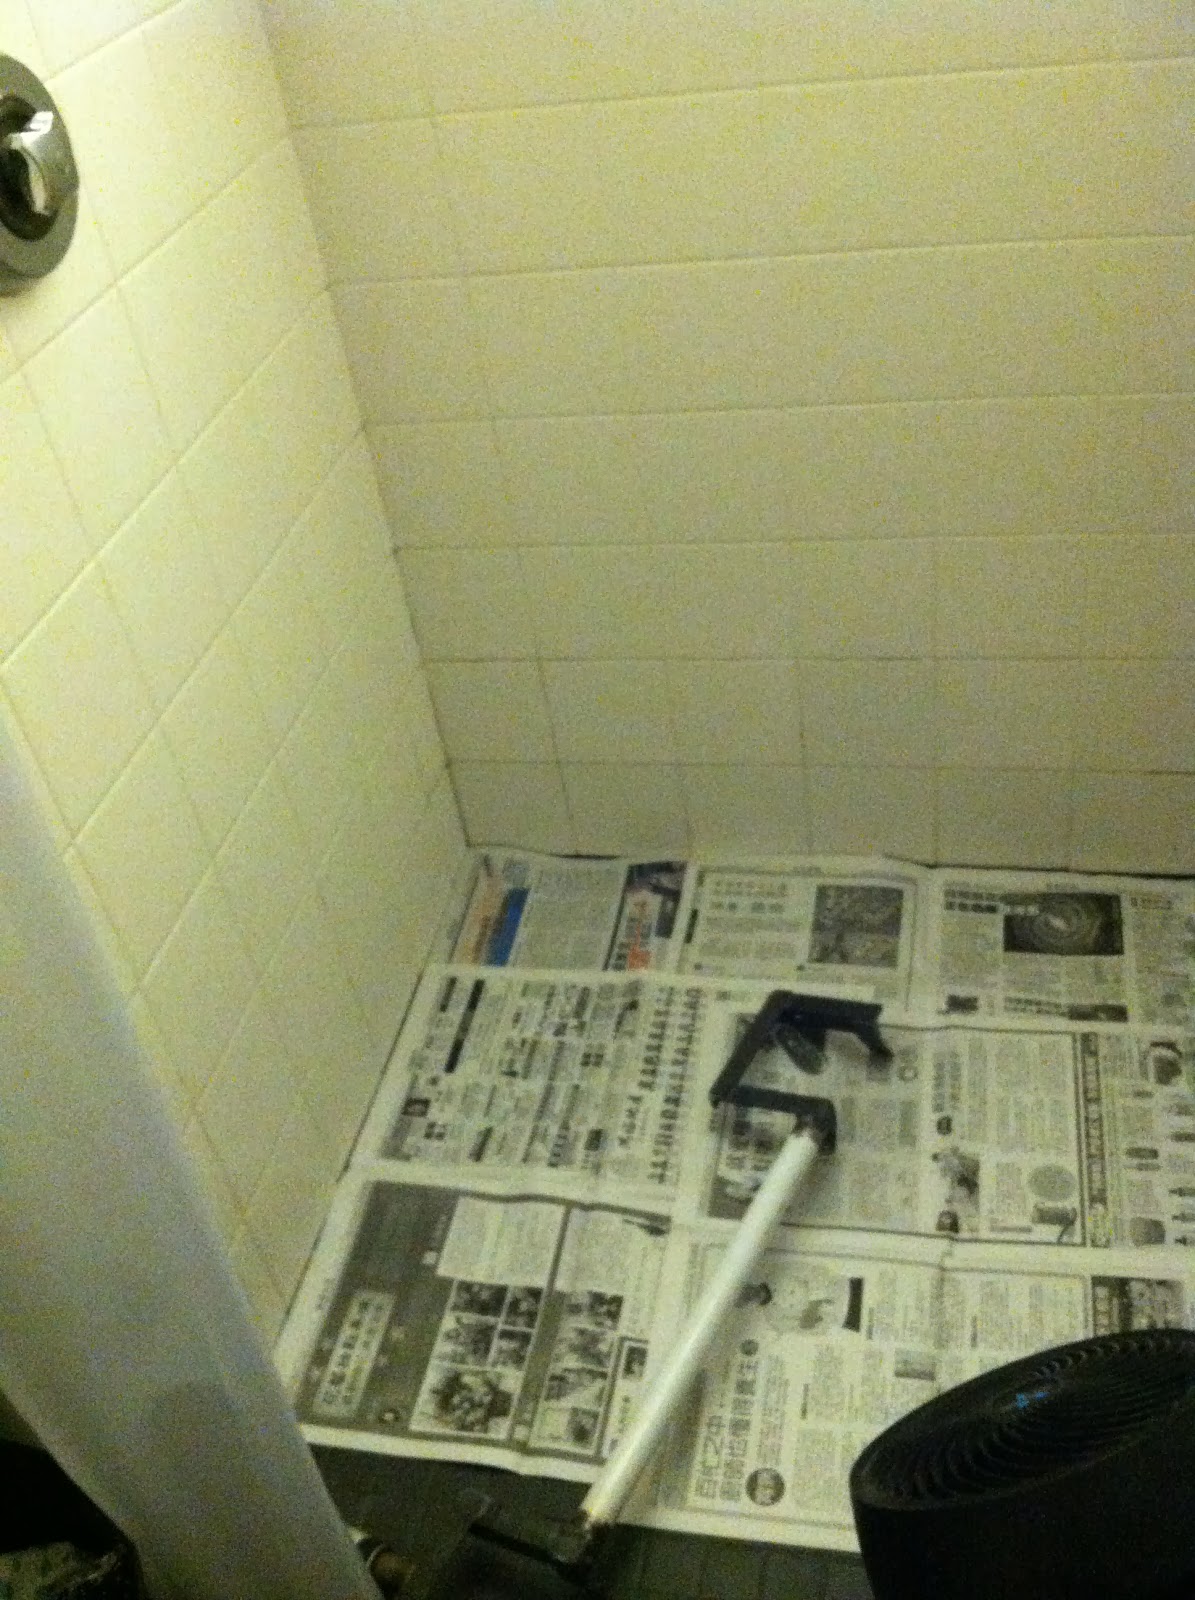
The bare, exposed steel was also starting to corrode, so I covered it up with some quick coats of spray paint.  It had been too cold outside to spray paint during the past few days, so in a typical case of me being me and being dumb, I set up a spray painting station in our bathroom.  The ventilation seemed to be good enough, so I just put a fan and a bunch of newspaper down in the shower and only sprayed little bits at a time.  I sprayed the entire piece with a coat of white primer first.  Then I taped up some newspaper around the tube and painted the ends blue.


I suppose it was less than ideal, but it did the trick without me suffocating from the fumes.  Now I still get a kick out of seeing our unconventional combination of soap and spray paint in the bathroom: 


I'll see if it'll still need more coats, but for now the pieces came out alright.  At least for now, it'll be better than the bare steel.  


Nothing like new paint


Sunday, January 26, 2014

Animals

After I got the lights and sounds working nicely, my roommate, Nick, and I took the trike and scooter out around the MIT campus last Friday night to show off the new features and run some people over.  Our comrade Dharshan tagged along to help record some video, earning him the new title of Shaky-Hands Dharsh.  I threw together a video using the sub-optimal Windows Movie Maker as a joke to document our expeditions.  Here are some of our stunts, to the tune of Animals by Martin Garrix:


Riding in Style

 Finally got around to starting work on the cruising essentials a couple of days ago.  Our goals were just fixing up the trike with some lights and a sound system so that it's ready to take on the night.  I started laying out where all the lights are going to go, and securing them on the frame.  I went with my favorite blue lights to go with the white frame.  While laying everything out, I just used a separate 12v battery pack to power all the extra electronics.


I also thew on some red underglow lighting up under the seat.  They're tied into momentary switches in the brake levers so that when I brake, the lights turn on.  It actually gives a pretty cool effect driving on the road at night with the brake light underglow.


MUSIC

Some days I just miss riding around back home with the radio on in my car, so I had to fix up a sound system on the cruising trike.  I started with an old radio that I found, and took it apart.


I removed everything from the plastic housing and separated the cassette tape portion of the player.  The speakers still worked nicely, and the tuner still picked up radio stations.


I liked the size of the two 4"x4" circular speakers, and mounted them inside of the electronics box on the trike.

There was the perfect amount of space for them to fit side by side on the lid of the box with clearance on the inside, so I bolted them right there.  I figured that even if they weren't that loud, at least I'd be able to hear the music with the speakers aimed right up at my face.  


I measured out and drilled a bunch of air flow holes on a grid right in the middle of the speakers:


The tuner from the radio took up a lot of space, so I ended up not putting it in the box.  I wanted to be able to at least play my ipod, so I went with the amplifier board from an old set of computer desk speakers instead.


There was a sufficient amount of space in the front compartment of the box, so I put the amplifier circuit up there.  I drilled holes in the top so that the rider can easily adjust the volume and tone control knobs. 


I then had another field day riveting some sheet metal brackets on the top edges of the box, and then put velcro from that surface to the bottom of the lid. The lid had previously just been constrained by getting squeezed under the seat, but the velcro did a good job of holding it down and preventing the lid and speakers from sliding around.  I ran the headphone jack out the holes in the side with the motor and throttle cables so that it's easily accessible while driving.  Roberto set me up with his Reggaeton playlist, so now it's really ready to go.  It can't quite compare to the tailgating machine we had back home, but the sound is still decently high quality.  Between the lights and the music, the trike's starting to get pretty good at attracting the attention of people passing by at night.


Now it's starting to come together!


Saturday, January 25, 2014

Drift Control

We took some more steps moving forward to control the drifting and make the trike more reliable in cases of weaving in and out of traffic.  First we just needed a way to keep the gate lever up or down.   The weight is mostly on the back side of the pivot point in the lever such that the gates want to stay down over the wheels.  Originally, we solved this by just having a bungee cord hold up the gate lever when driving, and when they were flipped down, the gates gripped the wheel brackets firmly enough that they'd stay down despite the tension from the bungee cord.  However, when driving over bumps and over long distances, the cord would eventually still work the gates back up.  So I wanted to have the lever freely pivot without the tension, and just have a clip on the trike frame to hold down the lever handle when the rider wants the gates up for drifting.  I started by just bending some sheet metal strips around the same sized steel tube.


It was easy to form by hand, and I ended up with something that clipped onto the tube pretty firmly.  Then Jack showed me that he had a bunch of commercial clips of the same type, meant for holding brooms and stuff, and I liked those better than the one I threw together.  


Mine vs. Commercial Clip

I decided to hold the clip to the bike frame with rivets, which are quickly becoming my favorite fastener.  Again, it's quick and easy and did the trick just fine.


The final configuration held the lever in place to a sufficient degree:

Gates Up
Gates Down
Further Wheel Confinement 

The final adjustment was very simple, but made an incredible difference in the steering dynamics.  I just put a big bolt through the caster mount that served as a hard stop for the wheel bracket and restricted the range of motion of the casters.  Now, they were both limited to just under 180 degrees of motion as opposed to the original full 360.


Using my new handmade GoPro mini, I took a video of the rear, left caster wheel while I'm driving to show the full range of motion in the new configuration.  I start off just going straight, disengage the gates, and make some tight turns during the bumpy part where I go over a set of railroad tracks before straightening the wheels and flopping the gates back down again.  The video shows that the gates align over the wheel brackets a bit more easily than expected.  Sorry that the strap from my backpack keeps flying around in front of the camera!


If you saw some of the earlier videos of driving in the hall, it was difficult to control because during turns, the caster wheels would continue to rotate until the trike completely spun out and the casters reached a stable position with the trike rolling in reverse.  This left the rider with no control over the trike, and the motor didn't have enough power to get the vehicle back to moving forward with all its momentum rolling backward.  The stable state of the caster wheels refers to its natural position where the contact patch of the wheel with the ground is behind the pivot/rotation point as it moves forward, or in other words, the wheel has positive trail. This is the case for the front wheels of a shopping cart.

Since the hard stop of the bolt hitting the wheel bracket prevents the casters from over-rotating, the trike can still drift, but the rider is in a position to steer out of a turn and keep going instead of spinning out and flying backward.  Additionally, when pushing the bike directly backward, the casters can't reach a stable position, but rather rotate as much as they can with the constraints until they reach a symmetric configuration: 
Outside
Inside
On surfaces that give the wheels sufficient traction to not slide, these configurations stop the bike from rolling backward, just like the way to stopping in introductory skiing.  When rolling the trike in and out of the elevator, it's nice to be able to engage the gates, and then it can still be pushed forward and backward in a controllable manner with the wheels staying parallel.

Also, if you notice in the pictures above, the restricting bolt is not quite centered over the wheel such that the wheels can rotate more to the outside than to the inside.  This adds a nice effect where the caster on the inside of the turn can make a sharper angle than the one on the outside, and really helps to not only drift, but also smoothly move the trike around and through the turns. I suppose this is an unsophisticated but roughly comparable form of Ackermann steering.