Friday, January 31, 2014

That's MIT!!!

The trike's been holding up very well.  I take it out frequently to drive to most places around campus, and the steering is now controlled enough that I can manage getting up to top speed without hurting anyone around me...most of the time.  It takes a lot of getting used to, but the drifting makes for a crazy fun ride when you're trying to get somewhere on time.

Between the lights and sound system at night in addition to the trike just being wacky to begin with, I've started to attract some attention when people see me driving around.  When I go up to the lab, I usually go up over the railroad tracks back behind the dorm.  There's often a number of homeless people chilling out there, and I've started making some fans out of them.  I was driving through one day, and there were two guys out there.  As I drove past them, they gave me high fives and started yelling "That's MIT!" It's the times like those that make cruising so much more interesting than just walking.


Some Extra Finishing Touches

The entire rear gate assembly was still fairly crude, so I took it off to clean it up a bit.  The bike grip didn't quite want to fit down over the lever handle, as the 1" steel pipe was considerably thicker than the tube for bike handlebars.  I had to clamp the whole thing in the vice and twist the grip down for a bit, and eventually it fit all the way on.  
The angle iron bars that we used for the gates also had a lot of sharp edges and corners that everyone had been cutting their legs on when walking by, so I finally got a chance to round all the corners with the angle grinder.  Then I welded the back side of the white tube to make sure that it was firmly secured all the way around, since the tube had still been only tacked up to the angle iron up to this point.


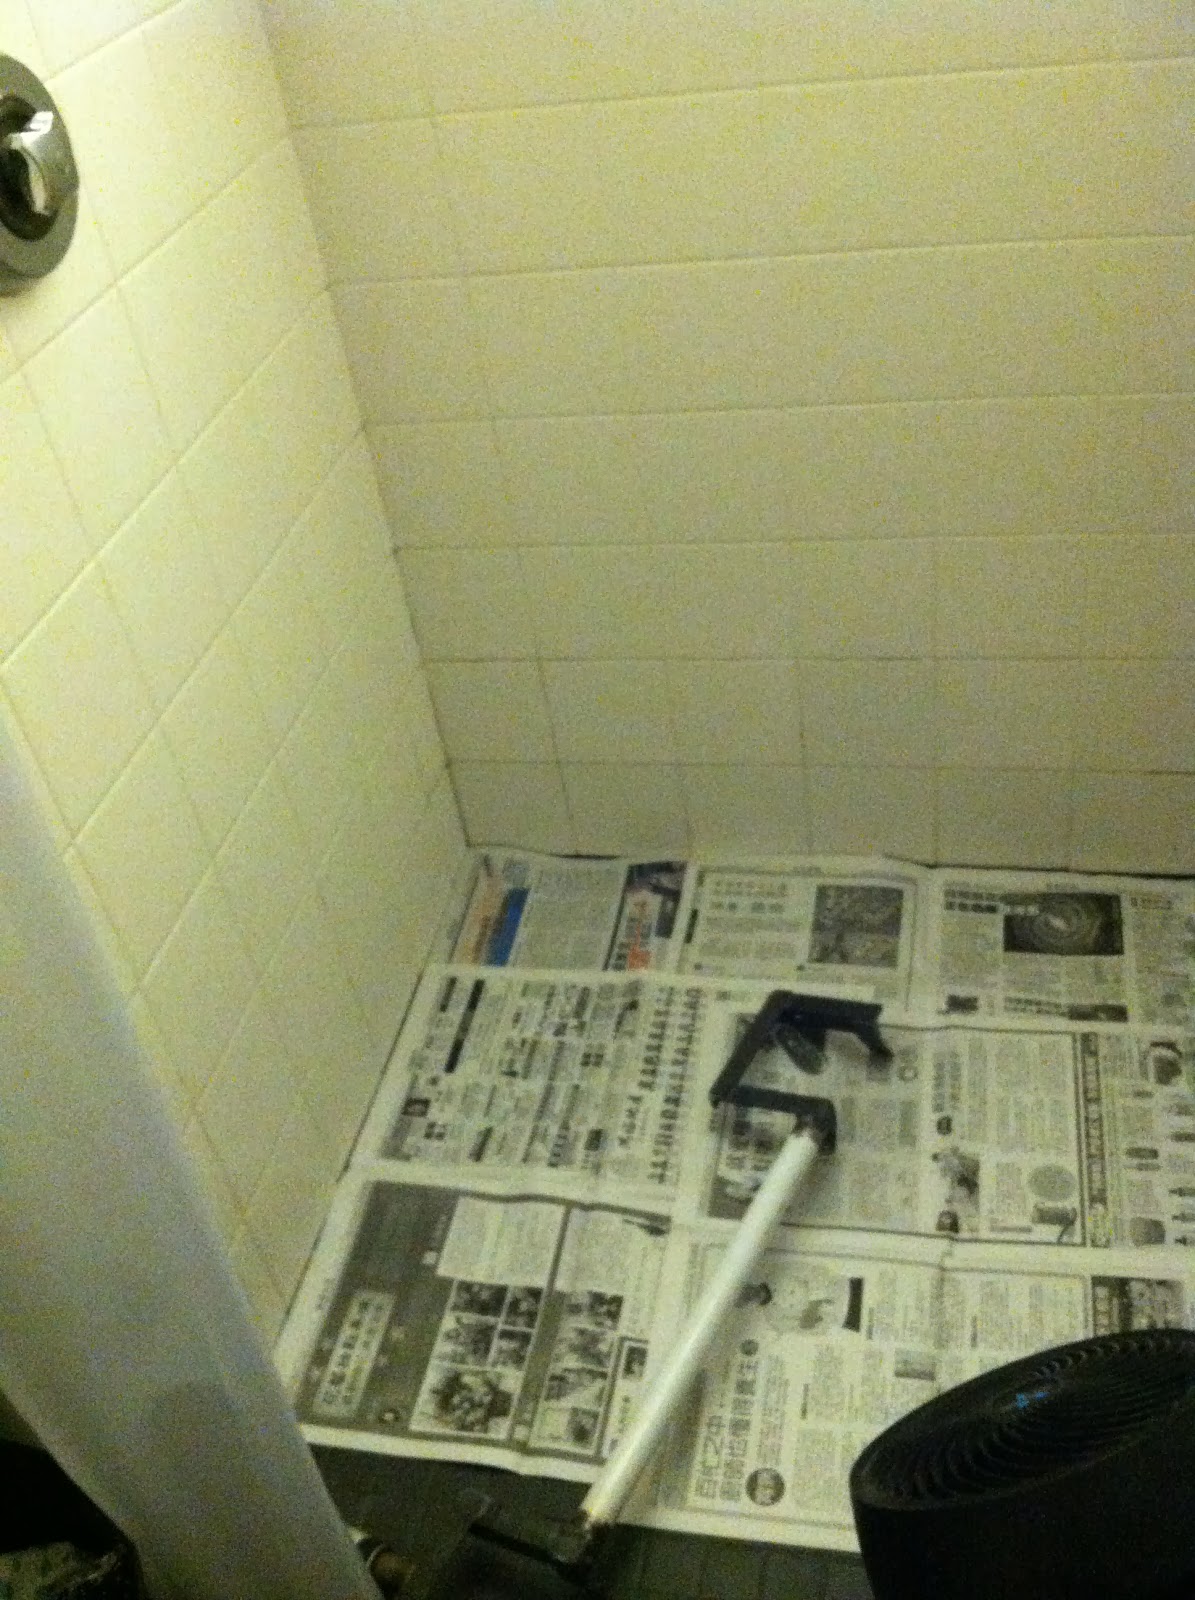
The bare, exposed steel was also starting to corrode, so I covered it up with some quick coats of spray paint.  It had been too cold outside to spray paint during the past few days, so in a typical case of me being me and being dumb, I set up a spray painting station in our bathroom.  The ventilation seemed to be good enough, so I just put a fan and a bunch of newspaper down in the shower and only sprayed little bits at a time.  I sprayed the entire piece with a coat of white primer first.  Then I taped up some newspaper around the tube and painted the ends blue.


I suppose it was less than ideal, but it did the trick without me suffocating from the fumes.  Now I still get a kick out of seeing our unconventional combination of soap and spray paint in the bathroom: 


I'll see if it'll still need more coats, but for now the pieces came out alright.  At least for now, it'll be better than the bare steel.  


Nothing like new paint


Thursday, January 30, 2014

Flywheel Bike is Happening!

With this year's AIBD season reaching its final week, everyone's been frantically working in the shop to complete their designs.  I wanted to go ahead and get some welding work done on the flywheel bike too, so Nick and I went over to the lab late the other night and pounded out the frame.

I have enough bicycle parts in the dorm now to clutter up not only my own room, but my friend's across the hall as well...
Friend's room across the hall
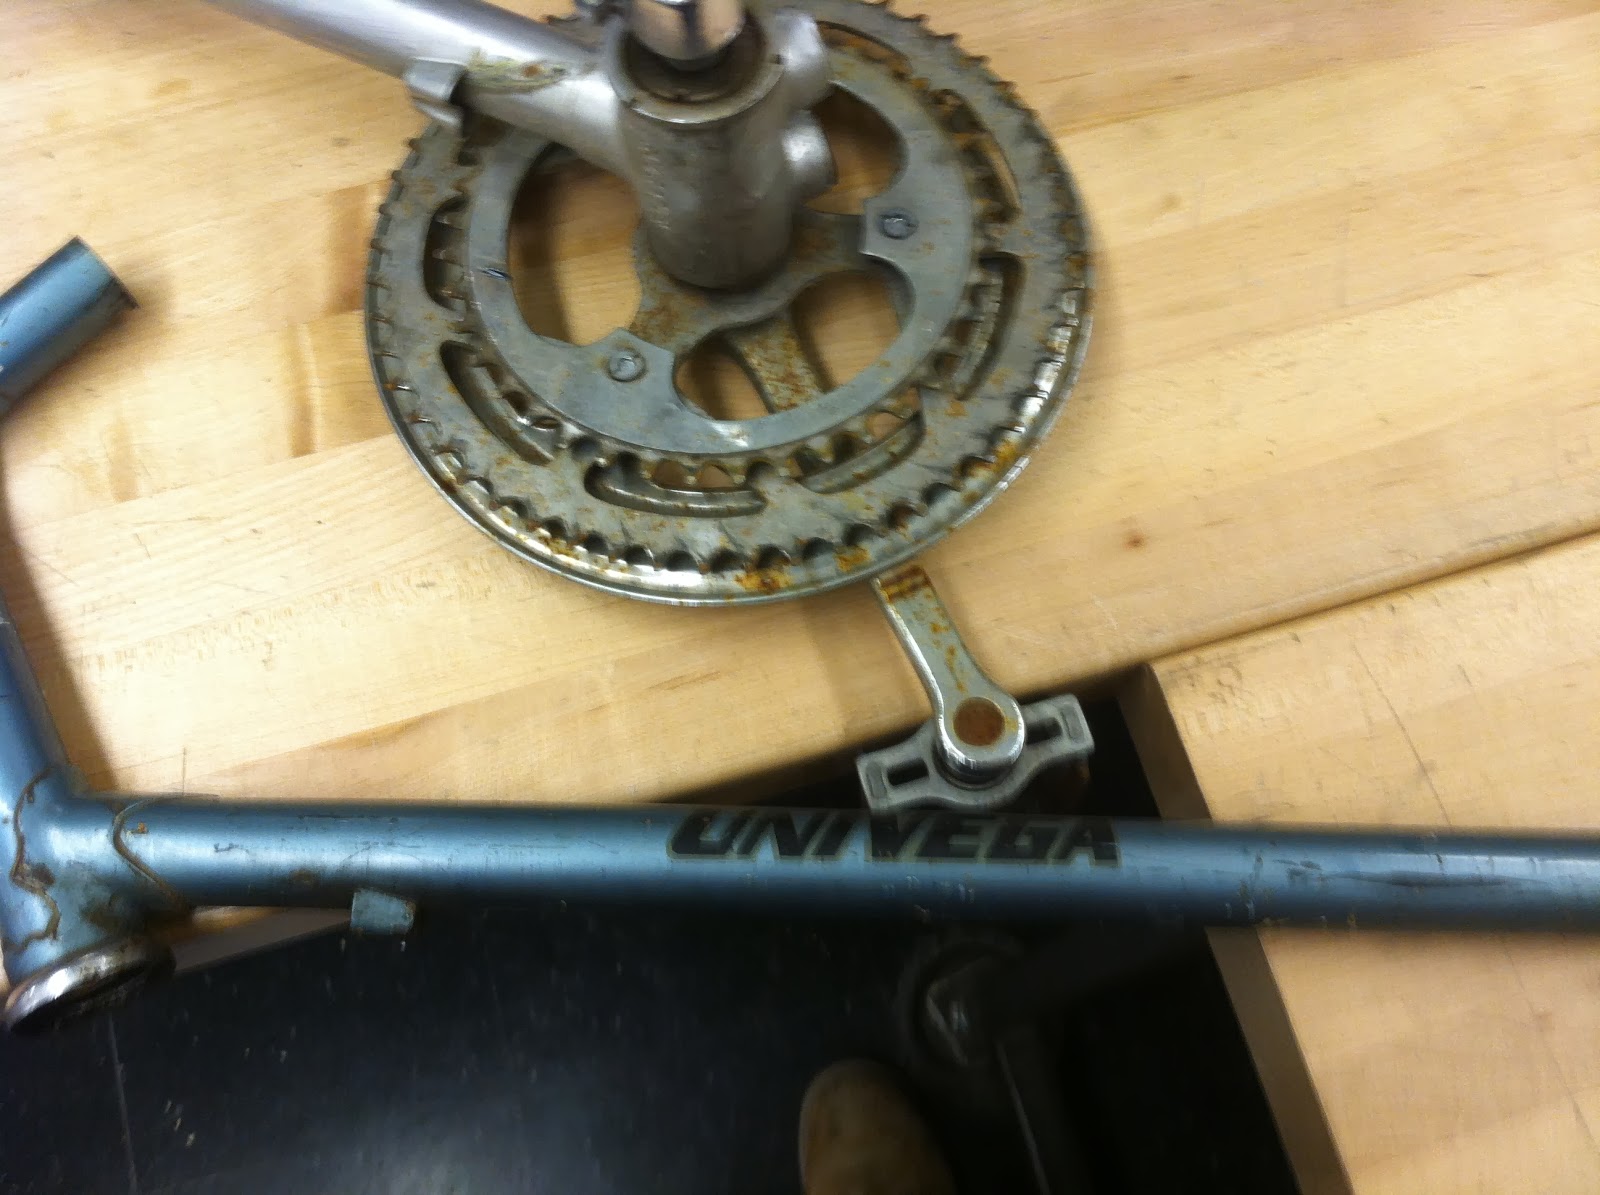
I went over and dug up two old Univegas that I had picked up over winter break.  It had been very challenging at times to make very dissimilar frames compatible in projects such as the tank bike, so I figured that it'd be nice to have two of the same type of frame.  I stripped both of the bikes down to nearly just the frame so that I could more easily sling them over my shoulder and haul them up to the lab on the drift trike.


I started laying out the frame design by just laying the bike parts out on the table.  I hadn't thought too much about how to configure everything, but I basically wanted to combine the two frames to make a single, larger frame with a larger main triangle in which we could mount the flywheel.  The silver bike had the headset fully intact, so I used that one in the front.  Ideally we would keep both bottom brackets with the pedals on the front one so that the rider would pedal in the front.  Chain would be on the right side of the bike to separately connect the front sprocket to the flywheel and then the rear sprocket to the rear wheel.  This way the clutch system would only need to connect the flywheel to the rear bottom bracket on the left side of the bike.
Combining the two frames would require removing the rear triangle on the silver bike and cutting off the head tube and down tube on the blue frame.


Hacksaw Cuts

Angle Grinder Cuts
New Layout Configuration:

I used a 20" bike wheel to roughly size out a location for a flywheel.  This was much larger than the cast iron weight that we had, and should be more than enough space for most flywheels we'll try out.  To complete the frame by connecting the two bottom brackets, I cut the remaining down tube from the blue frame down to size, and experimented with using the hole saw on the drill press to miter the tube.


In order to make sure that both frames lined up and were in the same plane, we clamped them down to a  long 2x6" board.  Connecting the top tubes also required butt welding them together, so we constrained the tubes in a collinear arrangement by clamping them along a piece of angle iron.  Then we just clamped up the bottom bracket-connecting tube and welded it all up with the MIG welder.


Nick Welding


It came out pretty well, and very long.  It's funny how it looks broken because you're accustomed to seeing a straight down tube, and now it looks like the entire bike frame got bent at the front bottom bracket.  It should have plenty of room to contain the flywheel in the now expanded main triangle.


Next, we just had to mount the flywheel to the frame.  I opted to use the stays from the silver frame that I cut off to mount the flywheel, as the dropouts would allow us to interchange different types of flywheels that we came up with.  I wanted to mount the stays hanging down from the top tube on the frame, so that the flywheel would set down in the dropouts.  I couldn't find a good constraint for the wheel to help us line it up perfectly centered in the plane of the bike frame, so clamped it in place and spent a while spinning the wheel and just making slight adjustments until it looked good enough.  As long as the chain won't come off later, we should be alright. 


We tried to keep it pretty sleek, so that when you're pedaling your legs don't hit anything on the structure supporting the flywheel.  The extra additions to the frame indeed made the center of the bike much wider than usual.  Where there were sections of tube sticking up, we crimped the ends with a pair of channel locks and bent it to the top tube of the bike by hitting it with a hammer.  Then we just welded it to the frame, which made the flywheel support stays durable and without exposed, sharp angles.


And that's about it for day 1 on the frame, now we have a very unconventional tricycle...
Moving forward, we just need to make the flywheels, by machining our cast iron weight or by filling the inner tube on the wheel with concrete.  We're also going to mount the seat right above the flywheel, where there's that flat metal piece in the picture, and then we just need to work out the clutch/power take off system to engage the flywheel with the back wheel.


Monday, January 27, 2014

Scooter Visions

We started to shift some of our attention back to the scooter for some temporary fixes and planning out what other modifications we wanted to attempt.  It was fun riding it the other night, but in our video there was still clearly the problem of not having any underglow lighting.  That means we're back to blue lights on white paint once again!


The scooter has much less clearance than the trike, so I wanted to start off by mounting the LED strips inside of the battery box to protect them.  The box has a funny shape on the bottom with a groove down the middle that allows it to straddle the bar it rests on as it sits in the scooter frame:


The plan was to cut the elevated parts on the bottom of the box off and replace them with clear plastic all the way across, giving it a flat bottom.  This way, the lights could be mounted within the box, below the batteries, and shine down through the plastic.  This prevents the lights from being damaged when driving over curbs and other objects that scrape the bottom of the low-clearance frame of the scooter.  

Nick's Bandsaw Work


Once the plastic was sized up for the base of the box, we glued it in place, hopefully still in a sufficiently water-tight manner!  Then we took it back to the room and finally fixed it up with some lights.

The LEDs fit nicely on each side of the inside of the battery box where we intended for them to go, and they didn't interfere with the batteries or anything else packed in the box.  I also threw some more lights on the back of the frame around the rear wheel to put some more light on the ground.  We temporarily just taped up a little switch on the handlebars and wired the lights into the batteries, and now we have another glowing vehicle.


Moving Forward

I've been thinking about some nice projects to do with the scooter frame.  To this point, it's still pretty much just a stock Razor scooter without the seat, despite new paint and lights.  I like trying to make things a bit more unique than that.

I was thinking about cutting the frame at the down tube equivalent, and replacing the front wheel with another big 26" hub motor wheel.  With the two 16" wheels and no suspension, the ride gets pretty bumpy at times, especially in cases such as crossing railroad tracks.  I figure it could be a cool type of throwback to the old fashioned penny-farthing bicycles, and maybe get it going a little bit faster with the hub motor.
I drew up some designs and then checked online, and I actually found some similar things that people had made on instructables.  
http://www.instructables.com/id/Mountain-Bike-Scooter/all/?lang=pt
Ideally, I'd want to go with something along the lines of this one:
http://lawrence-ks.americanlisted.com/kids-products-toys/big-kick-scooter-75-25-miles-s-of-topeka_20249469.html
That design has 24" in the front and 14.5" in the back, but that's roughly how ours would look with the 26/16 combo.  I'm still working on drawing it up, so we'll see if this one takes form.  The only problem is that I'm still pretty reluctant to cut up the Razor, just because the frame is nice and sturdy as it is, and I've grown to like the way it looks with the paint and lights...